Mould Care
The Professional Soap Maker’s Guide to Silicone Mould Care: Cleaning, Storing, and Flawless Demoulding
How to clean, store and demould silicone soap moulds so your logo stays crisp batch after batch. Practical care tips for cold process and melt and pour soap makers.
· 4 min read
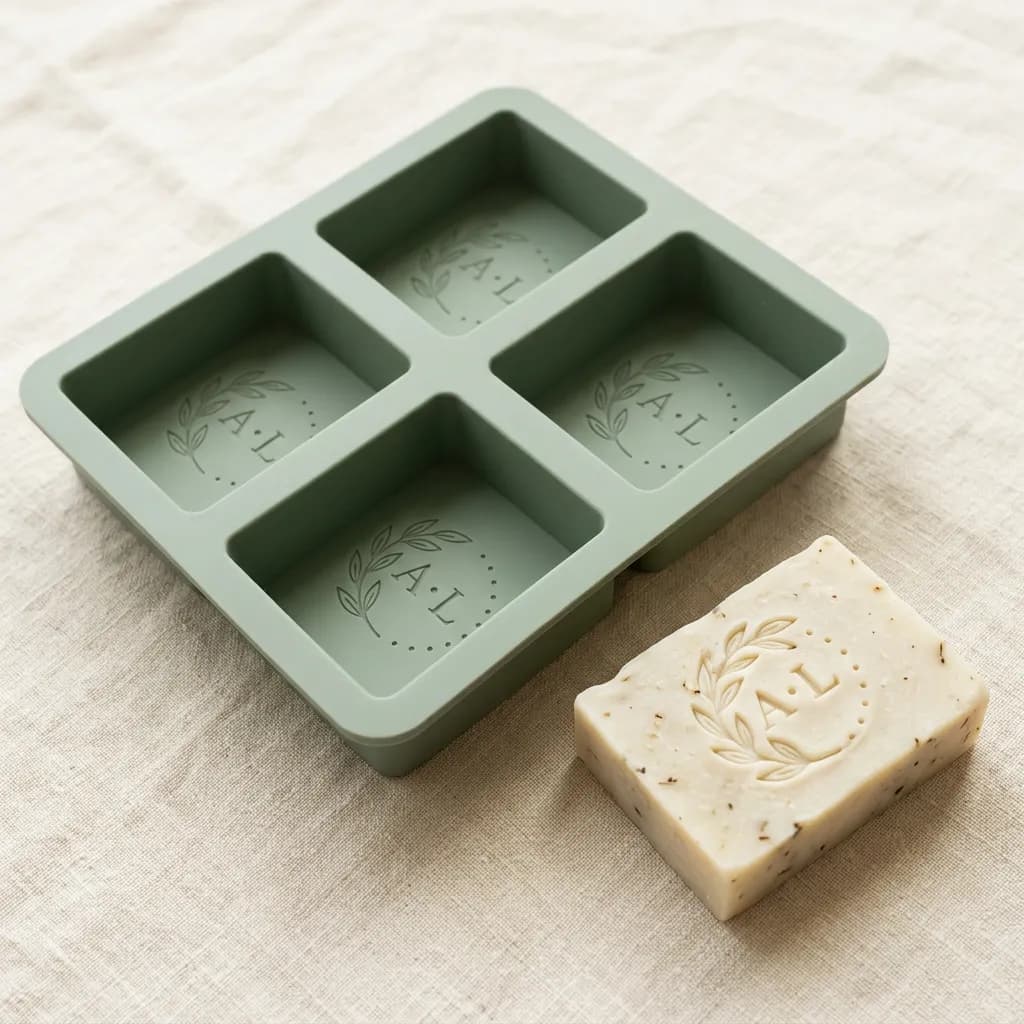
A good silicone soap mould can last for hundreds of batches, but only if it's looked after. The fine detail that makes a custom logo look sharp is also the first thing to suffer from harsh cleaning, poor storage or rushed unmoulding.
This guide covers the habits professional soap makers use to keep their moulds in top condition, and how to get clean, crisp bars out every time.
Why mould care matters more with a logo
A plain mould is forgiving. A mould with an engraved or raised logo isn't. Tiny edges, thin lettering and small counters (the enclosed spaces in letters like "a", "e" and "o") are where soap residue builds up, where tears start, and where a dull or damaged surface shows first on the finished bar.
Look after those details and every bar looks like the first one.
Cleaning your silicone soap mould
After each batch
- Let leftover soap cure or harden first. Fresh cold process soap residue still contains active lye. Wear gloves, or leave the mould for a day so traces can saponify before washing.
- Wash by hand in warm water with a mild washing-up liquid. A small amount is all you need.
- Use a soft brush for the logo. A soft toothbrush or make-up brush gets into lettering without scratching the silicone.
- Rinse thoroughly. Leftover detergent can leave marks on your next batch.
- Dry completely. Air-dry upside down, or pat dry with a lint-free cloth. Water left in the cavities can cause spotting or "glycerin dew" on melt and pour soap.
What to avoid
- Abrasive scourers, metal tools or cream cleaners. They scratch the surface, and every scratch shows on the soap.
- Sharp knives near the mould. If you cut loaf soap in or near a silicone mould, one slip can slice it.
- Strong solvents. Stick to mild soapy water unless we've told you otherwise for your mould.
Many silicone moulds will survive a dishwasher, but hand-washing is gentler on fine detail and stops food or grease residue settling into your logo.
Removing stubborn residue or oily film
Silicone can hold onto a slightly oily film over time, especially with high-oil recipes. If your bars start looking dull:
- Soak the mould in hot water with a little washing-up liquid for 15 to 20 minutes, then brush gently.
- For persistent film, a paste of bicarbonate of soda and water, worked in with a soft brush, usually lifts it. Rinse well afterwards.
Storing your moulds
How you store a mould matters as much as how you clean it.
- Store flat. Folding or rolling silicone can leave permanent creases, which will show on your bars.
- Don't stack heavy items on top. Weight can distort the cavities over time. If you stack moulds, keep it to a few and put the heaviest at the bottom.
- Keep them out of direct sunlight and away from radiators or other heat sources.
- Keep them dust-free. A lidded box or a clean drawer is ideal. Dust and lint love silicone and will end up in your soap.
- Store away from strongly scented products. Silicone can absorb fragrance, which is worth knowing if you switch between scented and unscented ranges.
Flawless demoulding
Most "damaged" bars are a timing problem, not a mould problem. The soap simply wasn't ready.
Cold process soap
- Be patient. Most bars are ready to unmould after 24 to 48 hours. Softer recipes, high-olive-oil bars and recipes with extra water can need several days.
- Consider sodium lactate. Many soap makers add a small amount to their lye water to help bars harden and release more cleanly. Follow your supplier's usage guidance.
- A short spell in the freezer can help a soft or very detailed bar release, but let it come back to room temperature before handling to avoid condensation spots.
- Gel phase and heat: if you use a warm oven to encourage gel (CPOP), check the temperature rating of your mould first and ask us if you're unsure.
Melt and pour soap
- Pour at the temperature your base supplier recommends. Pouring too hot can cause bubbles and soften fine detail.
- Spritz with rubbing alcohol straight after pouring to pop surface bubbles that would otherwise sit on top of your logo.
- Let it fully set, usually a few hours, before unmoulding.
The unmoulding technique
- Break the seal first. Gently pull each side of the cavity away from the soap to let air in.
- Peel, don't push. Flex the mould away from the bar rather than pressing hard on the bottom.
- Push from the base last. Once the sides are free, apply even pressure across the base so the bar pops out in one go.
- Work slowly around the logo. If the bar resists, wait a few more hours rather than forcing it. Forcing it is how lettering tears.
Signs a mould needs attention
- Bars come out with a dull or cloudy surface: usually residue or oily film. Give it a deep clean.
- Small tears around the logo: often caused by unmoulding too early or pushing too hard.
- Bars stick more than they used to: check for residue, and give the recipe more time to harden.
If your mould is damaged, or your logo isn't coming out the way you expected, get in touch. We'd rather help you fix it than leave you with bars you're not happy with.
Ready for your next mould?
Every custom mould we make is checked against your approved proof before it leaves our workshop. If you're planning a new range or rebrand, you can design your custom soap mould online, or ask us about something more unusual on our bespoke soap moulds page.